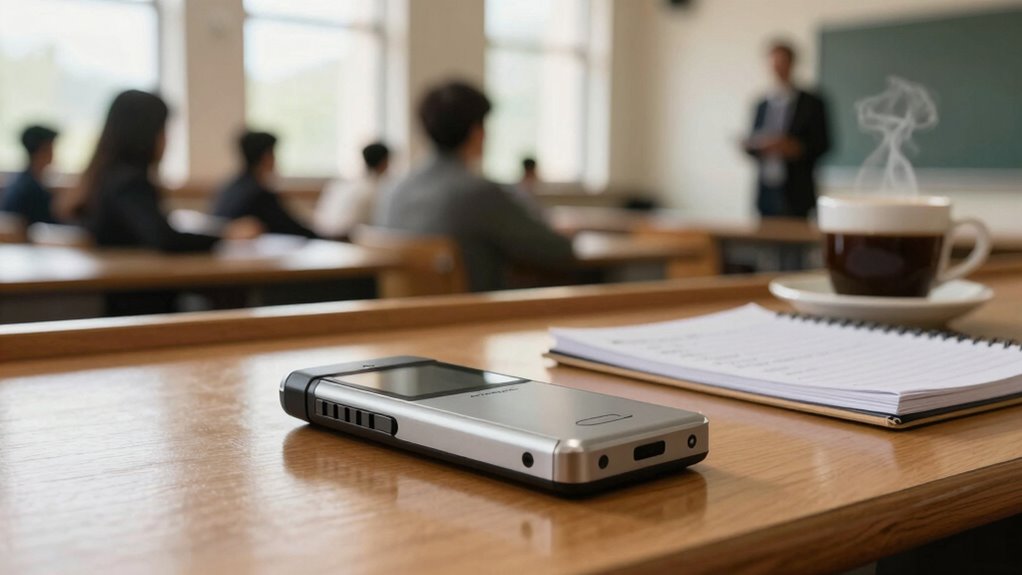

To take cleaner lecture recordings, choose a quiet spot away from noise. Position your microphone close to the lecturer’s mouth, ideally 6-12 inches away. Test audio levels before starting to guarantee clarity. Minimize distractions by avoiding rustling and keeping movements minimal. After recording, use audio editing software to remove background noise and enhance the speaker’s voice. Follow these tips to improve your recordings, and you’ll discover even more techniques for achieving professional-quality results.
Key Takeaways
- Choose a quiet, soft-furnished room to minimize background noise and echoes for clearer audio capture.
- Position the microphone close to the speaker, ideally 6-12 inches away, to enhance voice clarity.
- Test and adjust audio levels before recording to ensure the lecturer’s voice is captured without distortion.
- Minimize distractions by avoiding unnecessary movements and noise during the lecture for uninterrupted audio.
- Use audio editing software post-recording to reduce noise and enhance the speaker’s voice for improved quality.
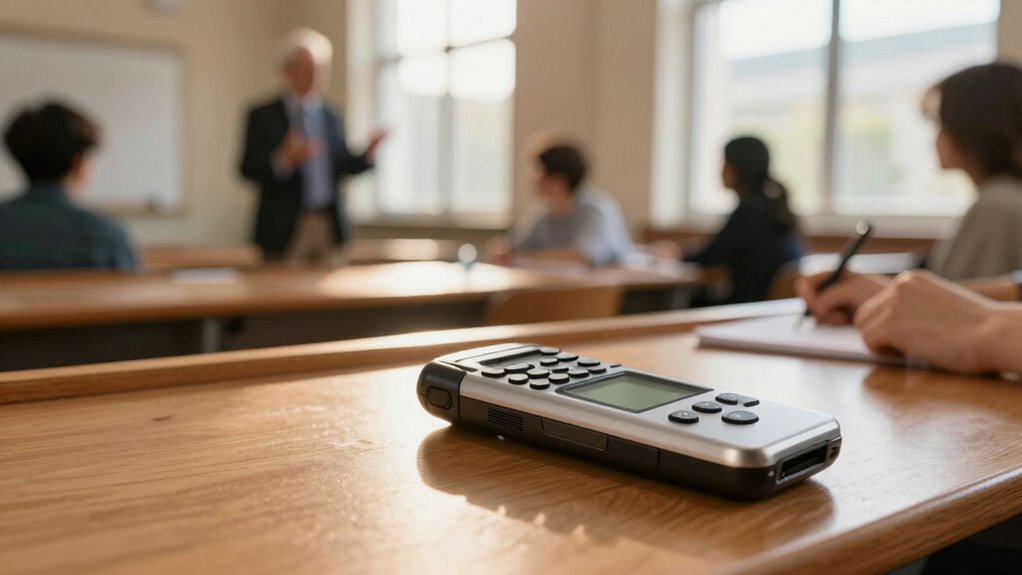
When you want to capture every significant detail during a lecture, using the right techniques can make all the difference. First off, consider your recording environment. If you’re in a noisy room, you’ll want to implement some noise reduction techniques. This might include choosing a quieter seat away from doors or windows and limiting background noise as much as possible. Using soft materials like blankets or cushions can help absorb sound and minimize echoes, creating a better recording atmosphere.
Next, focus on microphone placement. The position of your microphone is essential to getting a clean recording. Ideally, you want the microphone as close to the speaker as possible without obstructing their view. If you’re using a handheld recorder, hold it about six to twelve inches from the lecturer’s mouth. If you’re using a clip-on or lavalier microphone, attach it to the speaker’s clothing near their mouth to capture clearer audio. Make sure it’s secured properly—nothing’s worse than a microphone that shifts during the lecture.
Before you start recording, test the audio levels. Speak into the microphone and verify the sound isn’t too loud or too soft. Adjust the gain settings on your recorder if needed. You want to capture the lecturer’s voice clearly without distortion. Consider using an external microphone if your device allows it; these often provide superior sound quality compared to built-in options.
Make sure to avoid distractions during the lecture. Keep your movements minimal and avoid rustling papers or tapping on your device, as these sounds can interfere with your recording. If you’re using a digital recorder, try to keep it stable and avoid handling it too much. You want to keep the focus on the lecturer’s voice, so aim for a smooth, uninterrupted capture. Understanding sound quality principles can help you optimize your recordings further and ensure clarity.
Additionally, employing noise reduction techniques during post-processing can significantly improve your recording quality. After recording, you might want to use audio editing software to apply further noise reduction techniques. This can be especially useful for removing any unwanted background noise you didn’t catch during the lecture. Tools like equalizers can help enhance the speaker’s voice, making the recording more intelligible.
lapel microphone for lectures
As an affiliate, we earn on qualifying purchases.
As an affiliate, we earn on qualifying purchases.
Frequently Asked Questions
What Type of Voice Recorder Is Best for Lectures?
For lectures, digital recorders are your best bet. Look for portable options that offer excellent audio quality, so you capture every word clearly. Brands like Zoom and Sony often come highly recommended. Check user reviews to see which models suit your needs and budget choices. You’ll find many affordable options that don’t compromise on quality. Compare features to find the right fit for your lecture recording needs, ensuring you make a smart investment.
How Can I Reduce Background Noise During Recording?
To reduce background noise during recording, use noise canceling techniques like directional microphones, which focus on your voice and minimize surrounding sounds. You can also apply soundproofing tips, such as recording in quieter rooms or using soft materials like blankets to dampen echoes. If possible, choose times when the environment is less noisy. These strategies will help you capture clearer audio, making your recordings more effective and engaging.
What File Format Should I Use for Recordings?
For your recordings, stick to WAV or FLAC formats. They maintain high recording quality without file compression, ensuring you capture every detail. Think of it like using a vintage vinyl record—rich sound without losing fidelity. If you need smaller files, consider MP3, but be aware it compresses the audio and might affect clarity. Choose based on your needs; just remember, quality’s key when it comes to effective lecture recordings.
How Long Can I Record With a Voice Recorder?
You can record for hours, but it really depends on your voice recorder’s storage capacity. If you’ve got a larger memory card, you can capture more content without interruptions. Check your device’s specs to get the exact recording duration it supports. Always keep an eye on the available space to avoid cutting off important lectures. So, plan ahead and make sure you’ve got plenty of storage for those lengthy sessions!
Can I Use My Smartphone for Lecture Recordings?
Absolutely, you can use your smartphone for lecture recordings! Think of it as a modern-day scribe capturing knowledge. With various smartphone apps designed for this purpose, you’ll find features that enhance sound quality. To guarantee clear recordings, position your phone close to the speaker and minimize background noise. Experiment with different recording tips, like using an external microphone, to elevate your audio game even further. Your smartphone can be a powerful tool in your learning journey!
portable voice recorder with noise reduction
As an affiliate, we earn on qualifying purchases.
As an affiliate, we earn on qualifying purchases.
Conclusion
To summarize, taking cleaner lecture recordings is all about preparation and technique. By choosing the right equipment, minimizing background noise, and positioning your recorder effectively, you’ll capture clearer audio every time. Isn’t it worth the effort to guarantee you don’t miss a single valuable point? With these tips, you’ll transform your recordings, making studying and review a breeze. So, why not give it a try and elevate your learning experience today?
audio editing software for voice recordings
As an affiliate, we earn on qualifying purchases.
As an affiliate, we earn on qualifying purchases.
external microphone for smartphones
As an affiliate, we earn on qualifying purchases.
As an affiliate, we earn on qualifying purchases.